
| A tour down the layout | |
 |
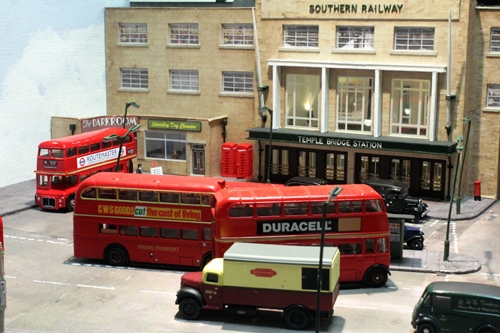 |
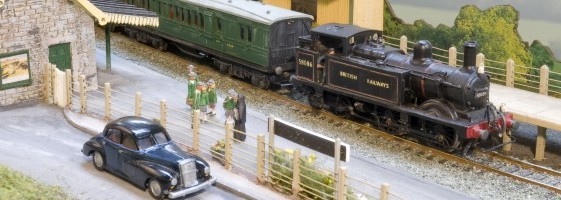
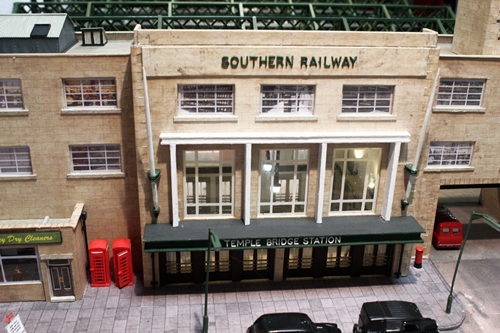
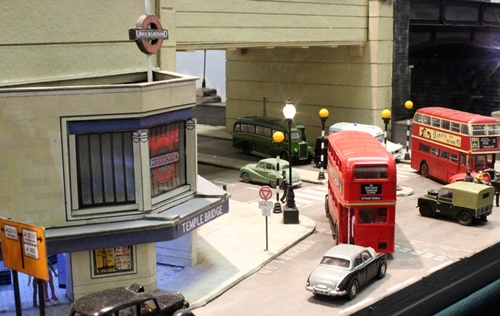
| The Station Building | Buses outside the station |
 |
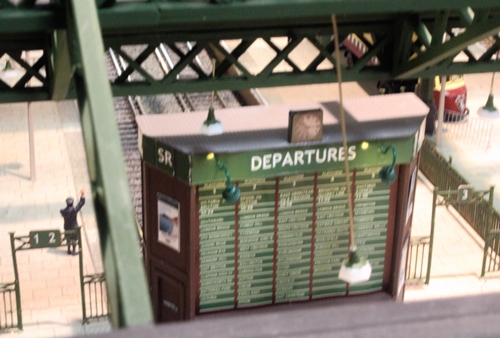 |
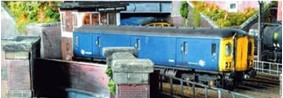
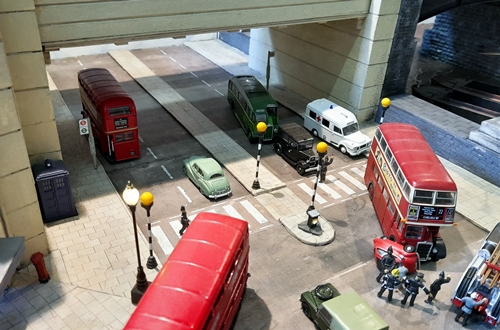
| General Traffic outside the Station | Temple Bridge Departure Board |
 |
 |
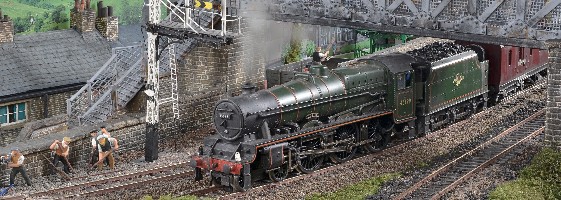
| A Post Office van on the station platform | A view of the station platforms |
 |
 |
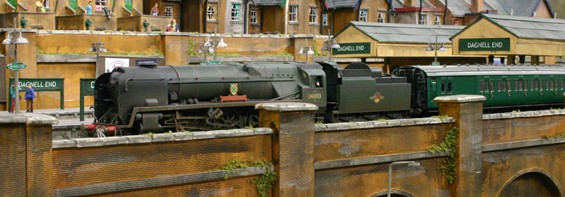
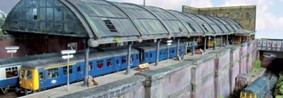
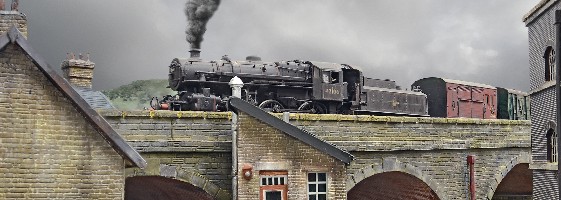
| Temple Bridge Underground Station | The railway bridge outside the underground station |
All Pictures are the copyright of Redditch Model Railway Club
![]() (for more pictures of Temple Bridge)
(for more pictures of Temple Bridge)