
| A tour down the layout | |
 |
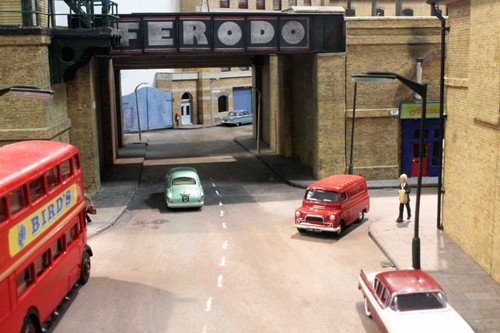 |
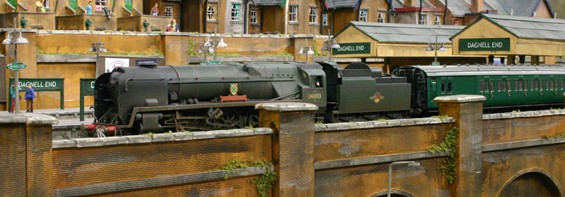
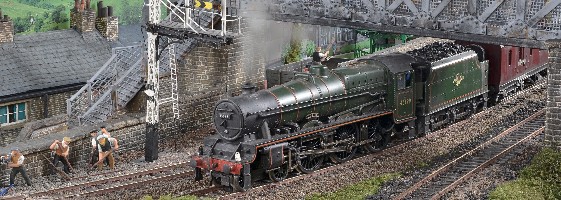
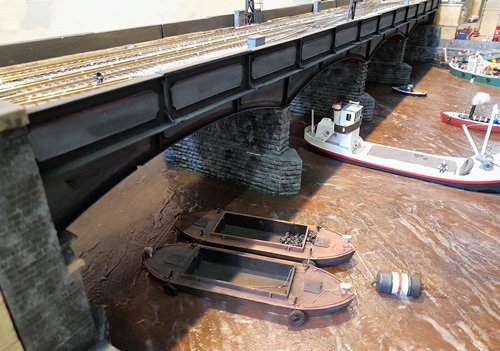
| The railway bridge over the River Thames | One of the road bridges under the railway line |
 |
 |
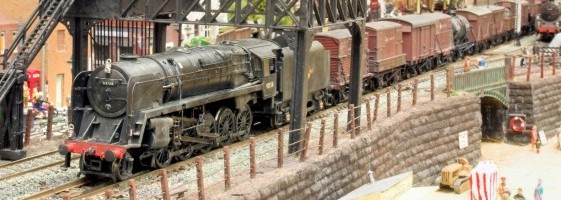
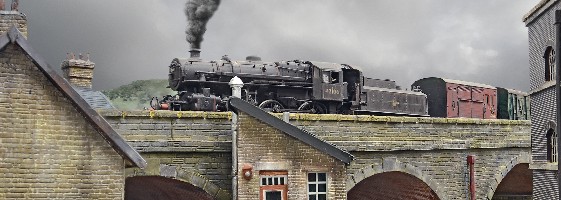
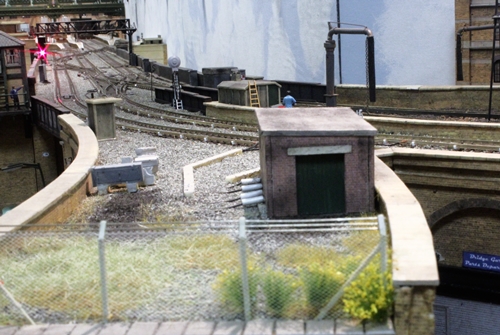
| The now closed junction line | A view down the street by the viaduct |
 |
 |
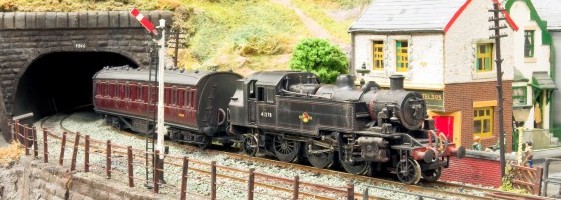
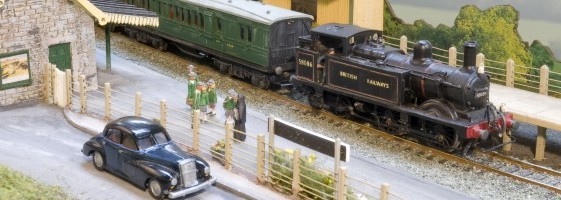
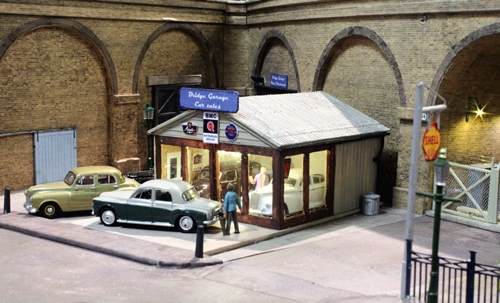
| The local garage | Southgate halt |
All Pictures are the copyright of Redditch Model Railway Club
![]() (for more pictures of
Temple Bridge)
(for more pictures of
Temple Bridge)